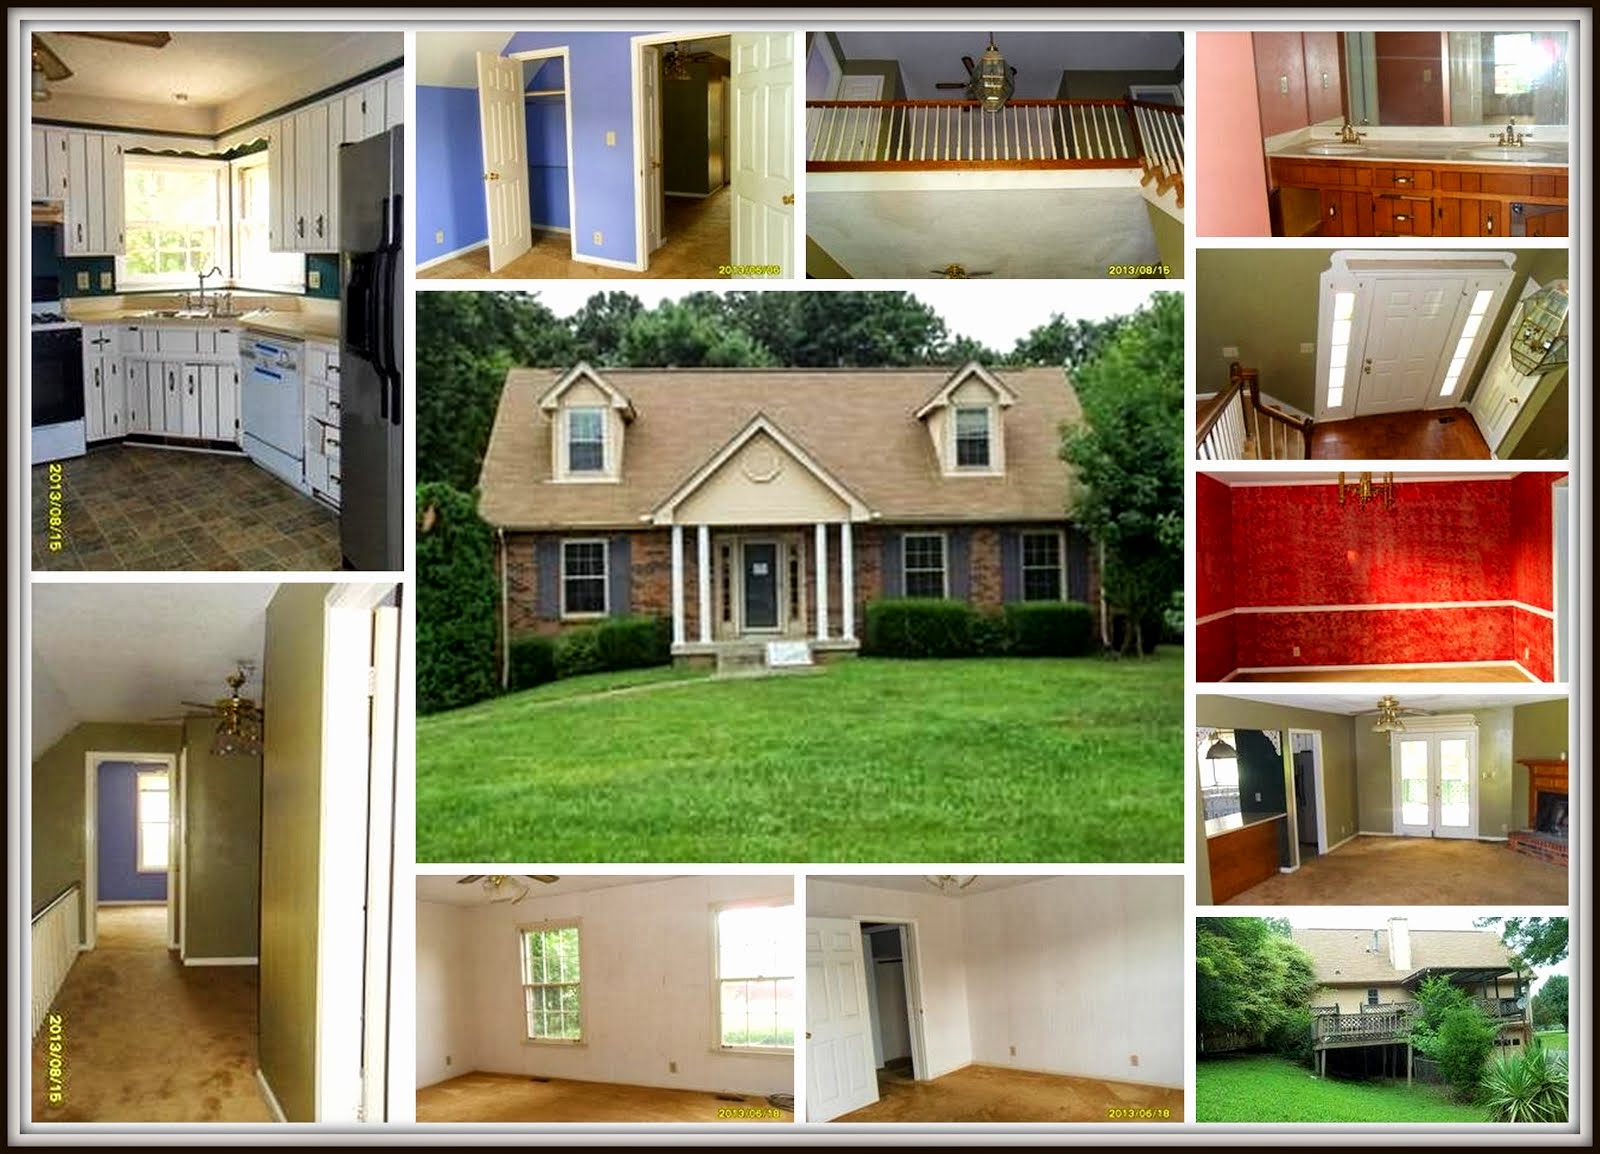
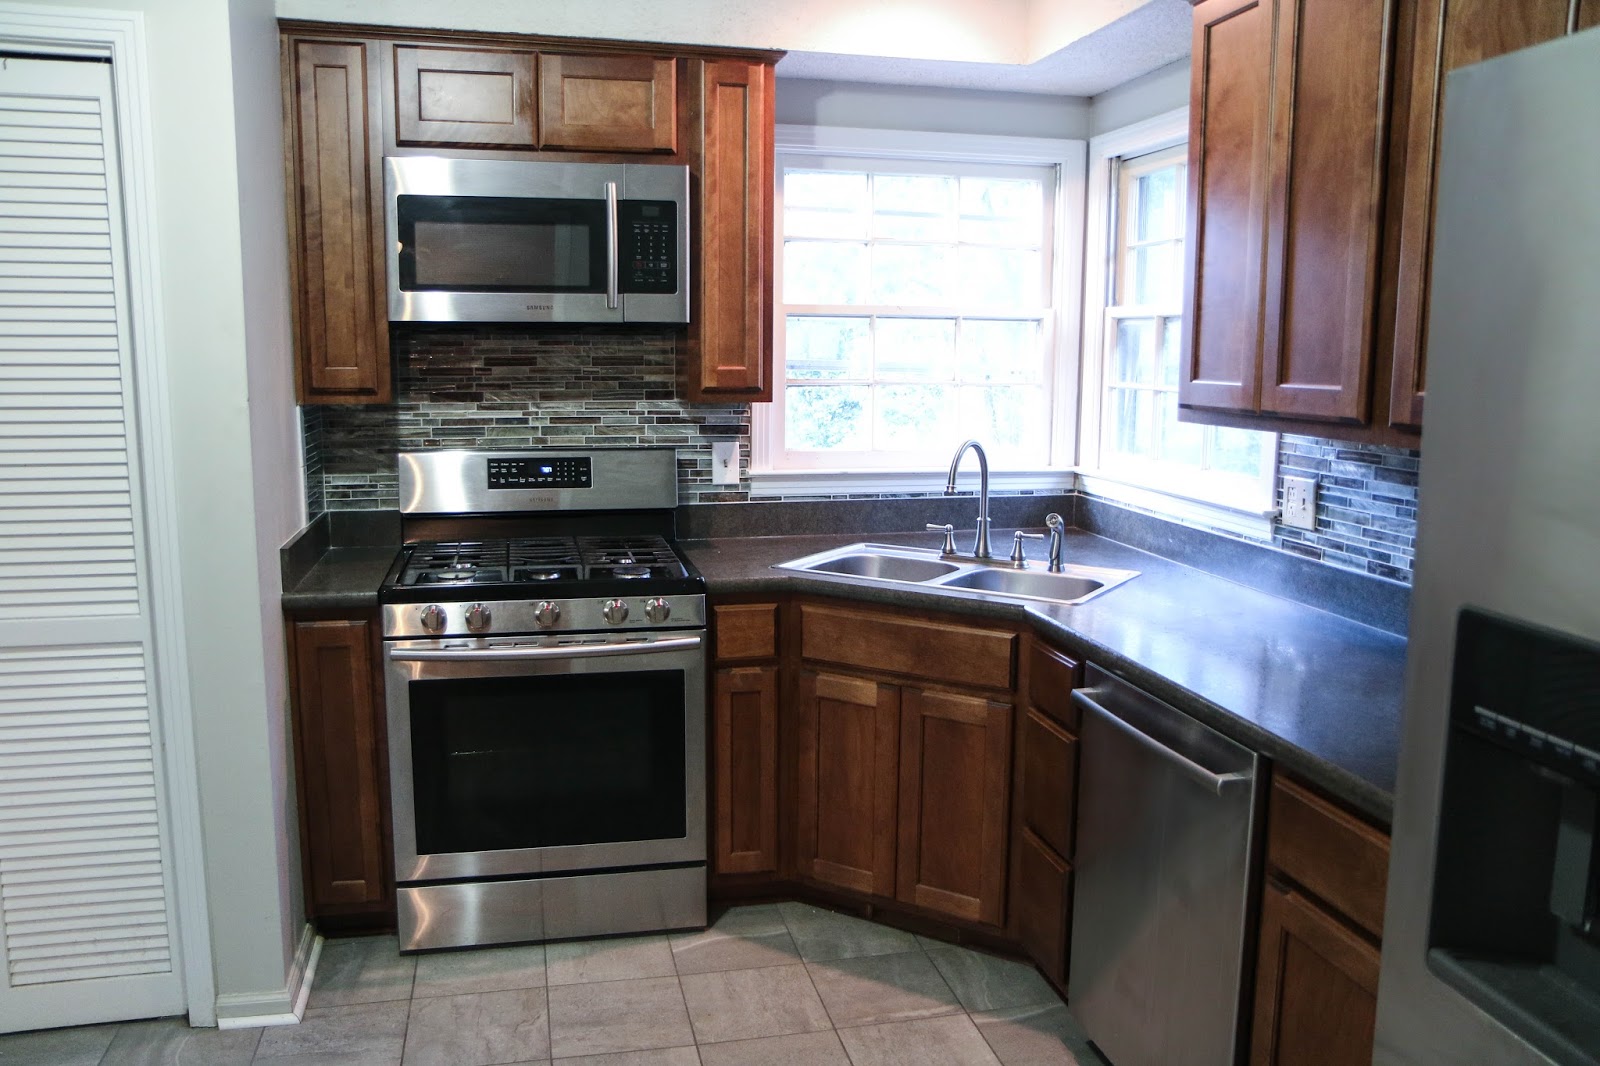
We finally got rid of the ugly cabinets in the upstairs and master bathrooms! I wish we had taken a few more photos to show just how nasty they were. Just imagine that I had to cut the bottom out of the cabinet because the plywood on the bottom had swollen so much that the drawers wouldn't close. They were also very short, I didn't realize that until the new ones came in 2 inches taller, it makes a difference!
I love how the white cabinets look. To be honest we had no idea what to put in there, and they cabinet guy said that all the new construction homes were putting in this white with the grey marble looking top, so we went with that.

Before: Upstairs Bathroom

After: Upstairs Bathroom

After: Upstairs Bathroom

After: Upstairs Bathroom

Before: Master Bathroom

After: Master Bathroom

After: Master Bathroom

After: Master Bathroom
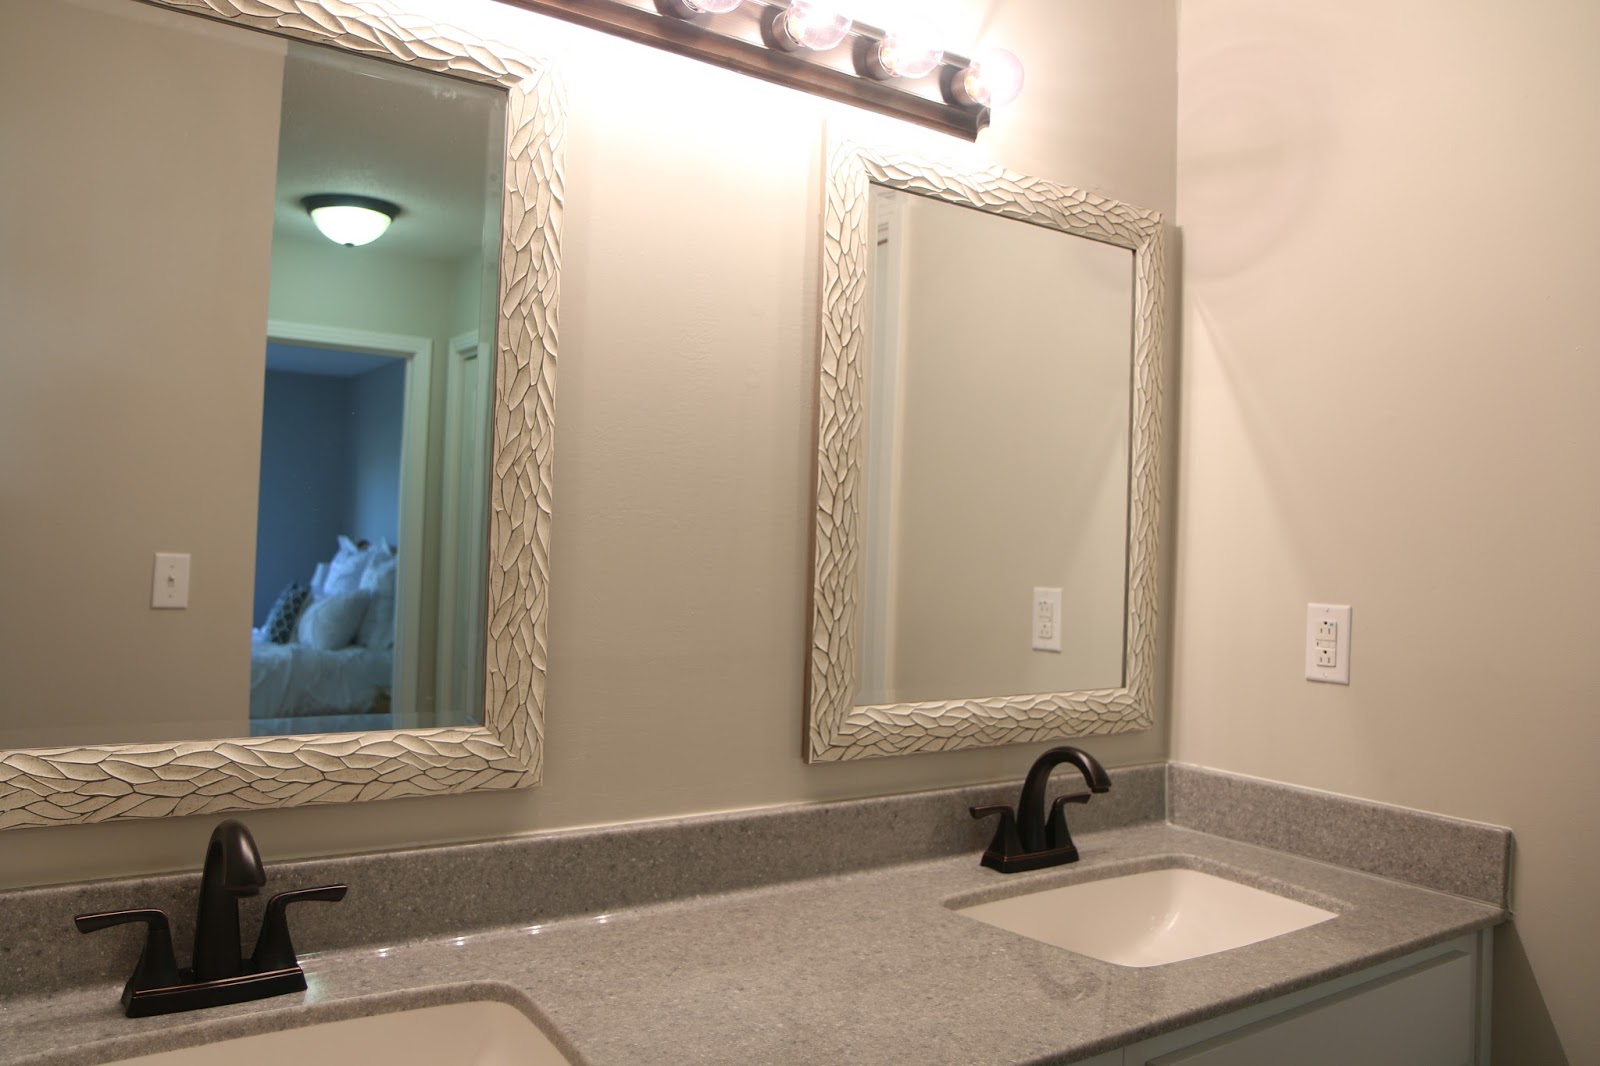
After: Master Bathroom


